Maintaining properly waxed skis is essential to your Nordic skiing experience. But how do you know when to wax, what type of wax to use and what are the steps for proper waxing?
There are two processes of waxing skis, depending on what type of skis you have.
Waxless skis, sometimes known as fish scale, don’t require grip wax on the “kick zone” – the middle portion of the ski base where you kick off with your diagonal stride. Waxless skis do require glide wax on the portion from where the kick zone ends to the tip and end, known as the “glide zone”.
When the base of your ski is starting to look cloudy, and you notice your glide has become sticky, it’s time to apply some glide wax.
Equipment You Need To Wax Your Own Skis
- waxing iron
- cork
- metal scraper
- groove scraper
- plastic scraper
- brush
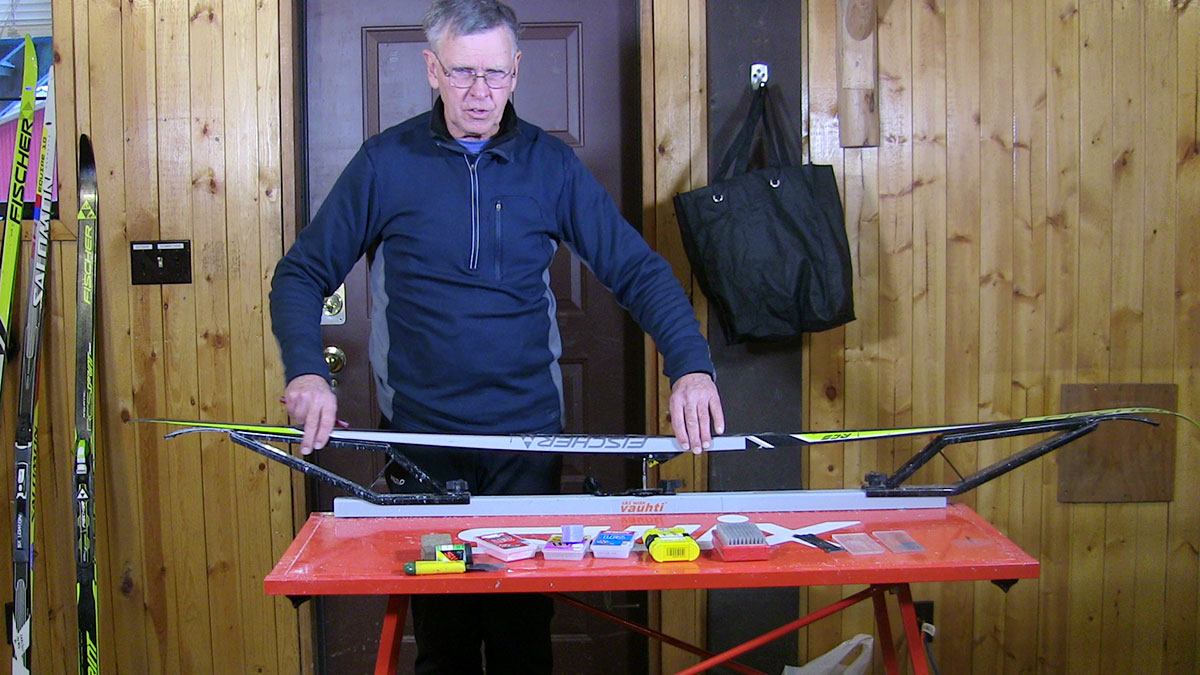
- table or stand to secure the skis
- Base binder (helps wax stay on skis)
- Grip wax, based on temperature
- putty knife with beveled edge
- -Base cleaner, if you need to clean down to base
Step 1 – heat your iron and secure your skis to the form or table. It’s best to use a proper wax iron, but an old clothes iron can work as long as the heat is set to low – otherwise you risk burning the bottoms of your skis.
Step 2 – melt the wax using the iron in a long strip along each side of the base’s groove.
Step 3 – use the iron to spread the wax along slowly along the base, moving in one direction towards the tip of the ski and along the ski edge at a 45 degree angle. Do three passes with the iron.
Step 4 – Let skis cool to room temperature – don’t let the wax get too cold if you’re outside as it will become brittle.
Step 5 – Use the metal scraper and scrape the edges at a 45 degree angle to get the excess wax off, using firm presser but not hard enough to scratch your skis. Repeat the scraping motion along the flat part of the base of your skis, leaving the wax that has been absorbed into the base.
Step 6 – Use your brush to polish the glide wax out towards the tips of your skis.
Kick Waxing
Kick wax is needed for the middle section of skis, to create grip on the snow. There are two types of kick wax, hard – for use in colder temperature skiing – and soft – also known as klister, for use in icy conditions and slushy snow.
Here’s what you’ll need for applying kick wax:
Step 1 – Scrape your kick zone with the putty knife to remove any old wax. If needed, use a base cleaner to wipe down to a fresh slate.
Step 2 – Apply your base binder and smooth it out with a cork.
Step 3 – Select your grip wax based on the temperature, apply two or more layers.
If you’re using klister (soft) wax, use a heat gun to warm the wax up slightly, gently dab it only/ the kick zone, heat slightly more on the base of the skis then use your thumb to spread out the wax evenly.
Some people who ski a lot will have an older pair of skis setup for klister and only use those skis in icy or slushy conditions.
If you are new to nordic skiing and are not sure if wax or waxless is right for you, then consider renting from us. You could try fish scales one day, skate skis the next!